> ## Documentation Index
> Fetch the complete documentation index at: https://rabbitpay.ai/documentation/llms.txt
> Use this file to discover all available pages before exploring further.
# Shopify
> Grant RabbitPay secure collaborator access to your Shopify store for installation and onboarding.
Install RabbitPay on your Shopify store to enable Cash on Delivery optimization, OTP verification, COD rules, and advanced checkout features.
## At a glance
Share your Shopify collaborator code so the RabbitPay team can access your store.
Install RabbitPay from the Shopify App Store.
Complete your business and store configuration.
Configure OTP Verification, COD Rules, Partial COD, COD Fees and Notifications.
Verify your configuration and begin accepting COD orders.
Contact the RabbitPay support team whenever you need assistance.
Collaborate Store with RabbitPay
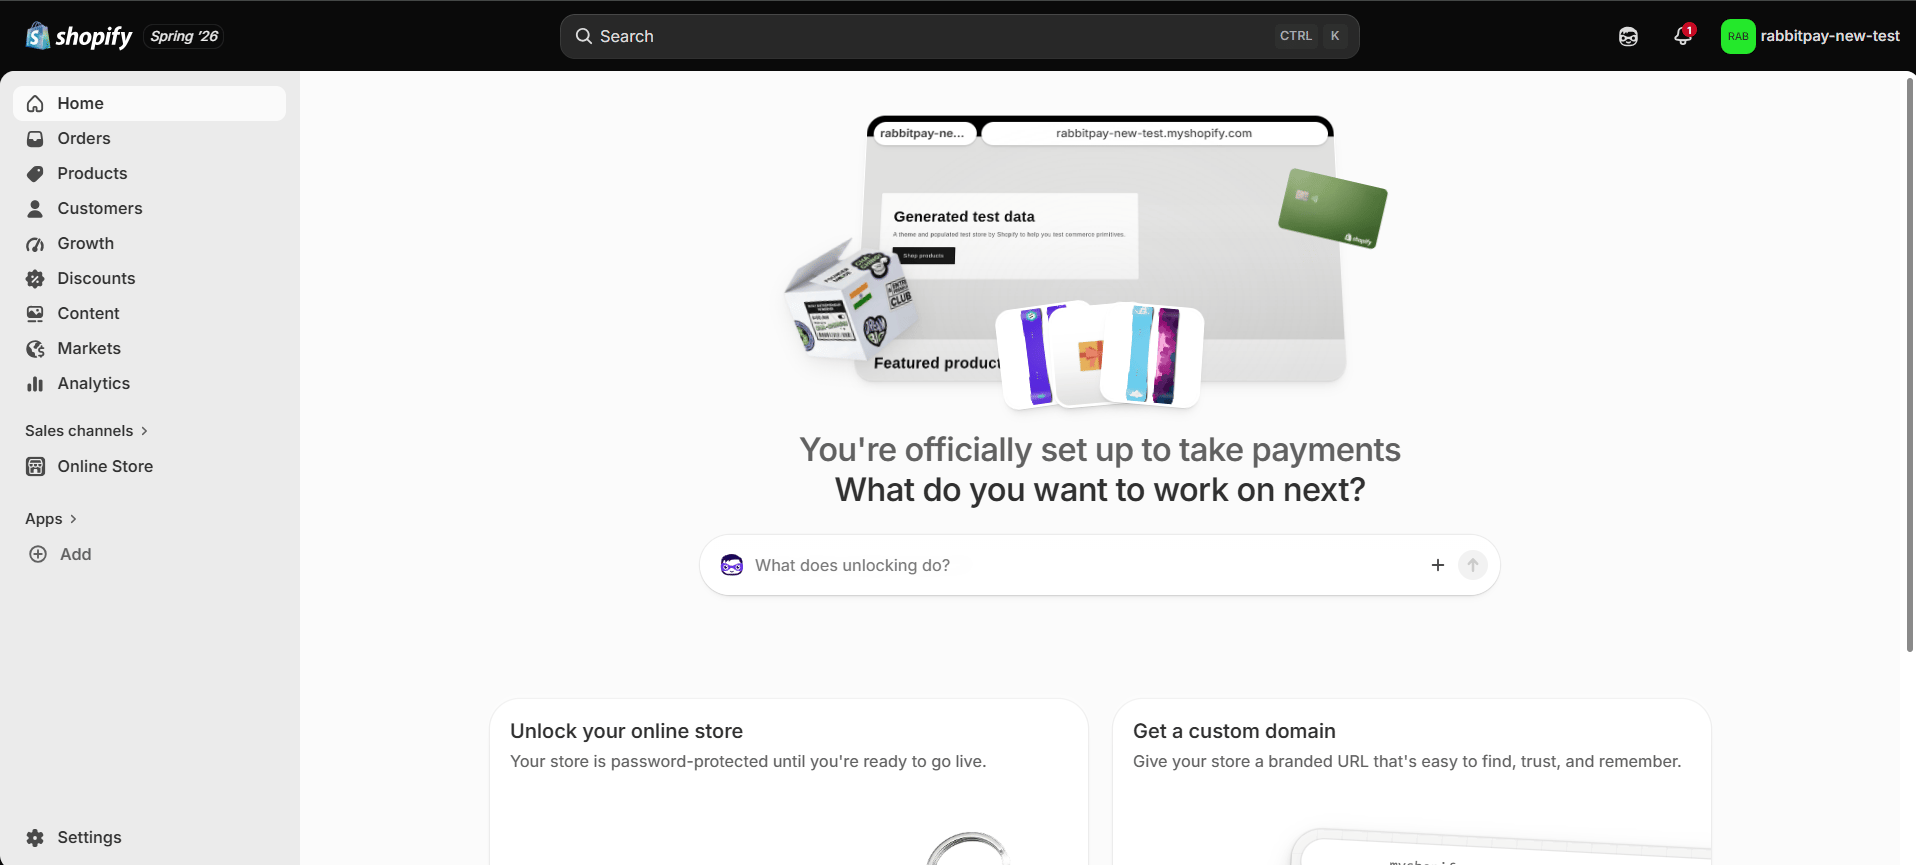 * Log in to your Shopify Admin account.
* Click **Settings** from the bottom-left corner.
* Log in to your Shopify Admin account.
* Click **Settings** from the bottom-left corner.
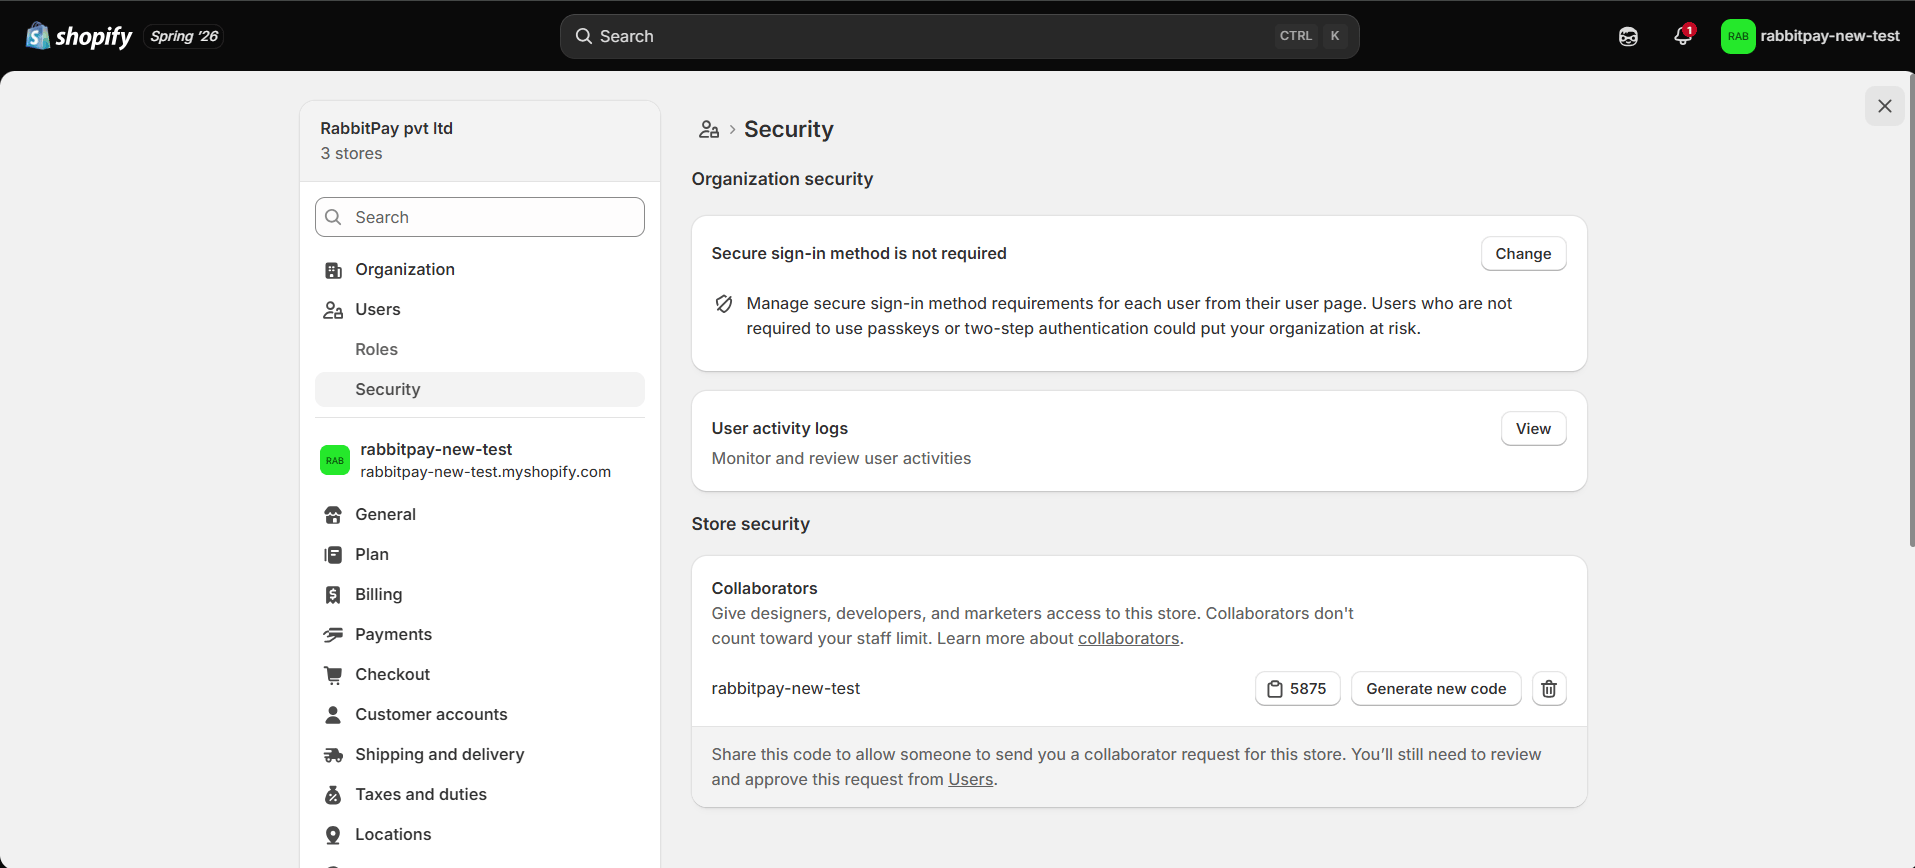 * Go to **Users** → **Security**.
* Scroll to **Collaborators**.
* Copy the **Collaboration Code**.
* Share the **Collaboration Code** together with your **Store URL** with the RabbitPay team.
Do not generate a new Collaboration Code until the RabbitPay integration has been completed.
* Go to **Users** → **Security**.
* Scroll to **Collaborators**.
* Copy the **Collaboration Code**.
* Share the **Collaboration Code** together with your **Store URL** with the RabbitPay team.
Do not generate a new Collaboration Code until the RabbitPay integration has been completed.
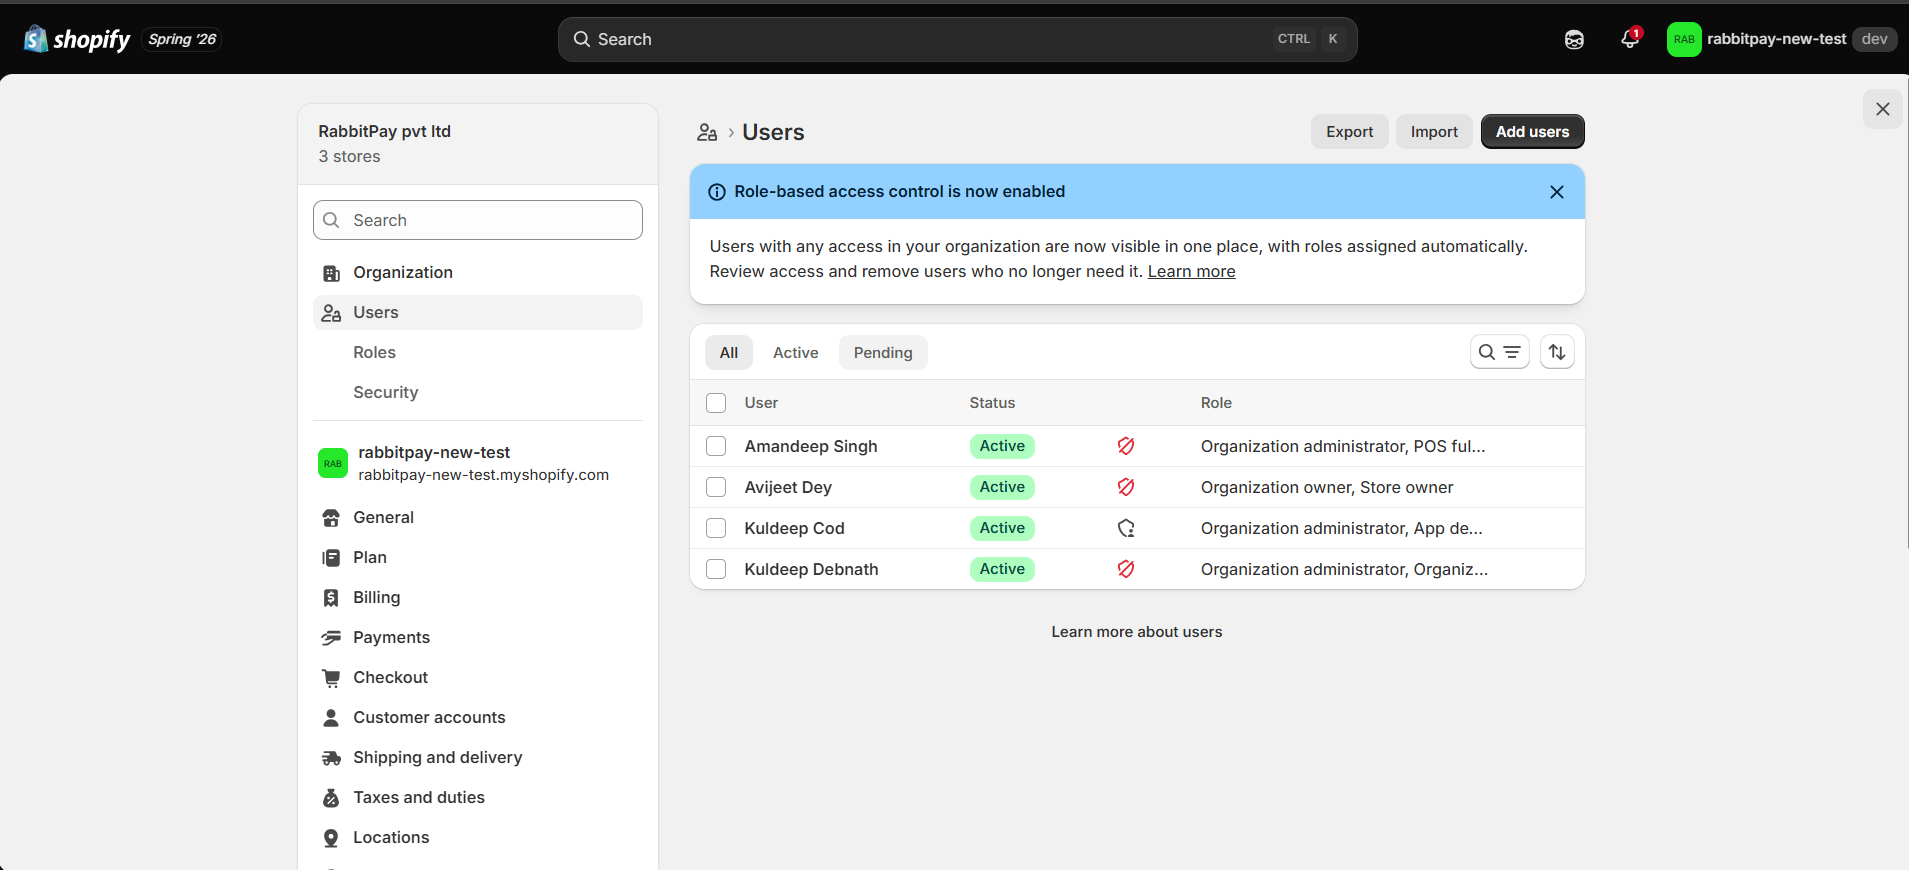 * You'll receive a collaboration request from the **RabbitPay Developers** team.
* Review the request.
* Click **Accept Request**.
The collaborator access is used only to install and configure RabbitPay.
* You'll receive a collaboration request from the **RabbitPay Developers** team.
* Review the request.
* Click **Accept Request**.
The collaborator access is used only to install and configure RabbitPay.
Get Started with RabbitPay
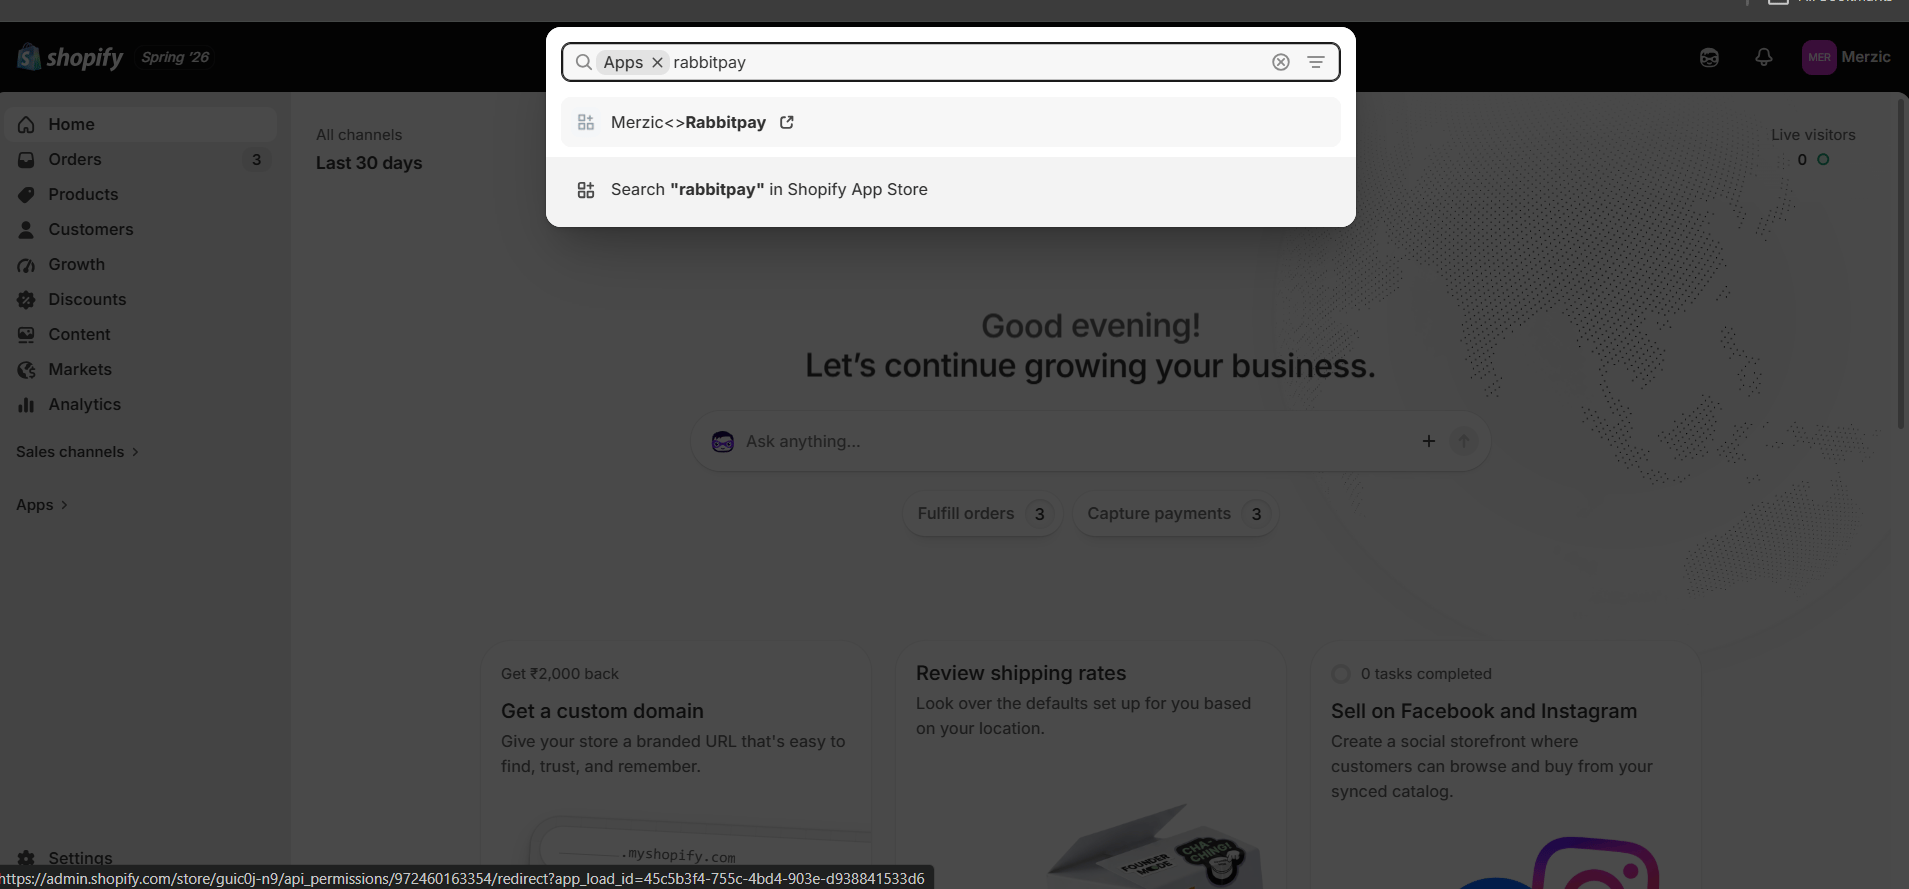 * Open your Shopify Admin account.
* Click **Apps** from the left sidebar and open **RabbitPay**.
* Open your Shopify Admin account.
* Click **Apps** from the left sidebar and open **RabbitPay**.
 Configure the payment gateways you intend to use before continuing with your RabbitPay setup. Select the gateways you want to enable for each **Payment Method**. If you already have **active accounts** with any of the gateways below, here's what each one needs:
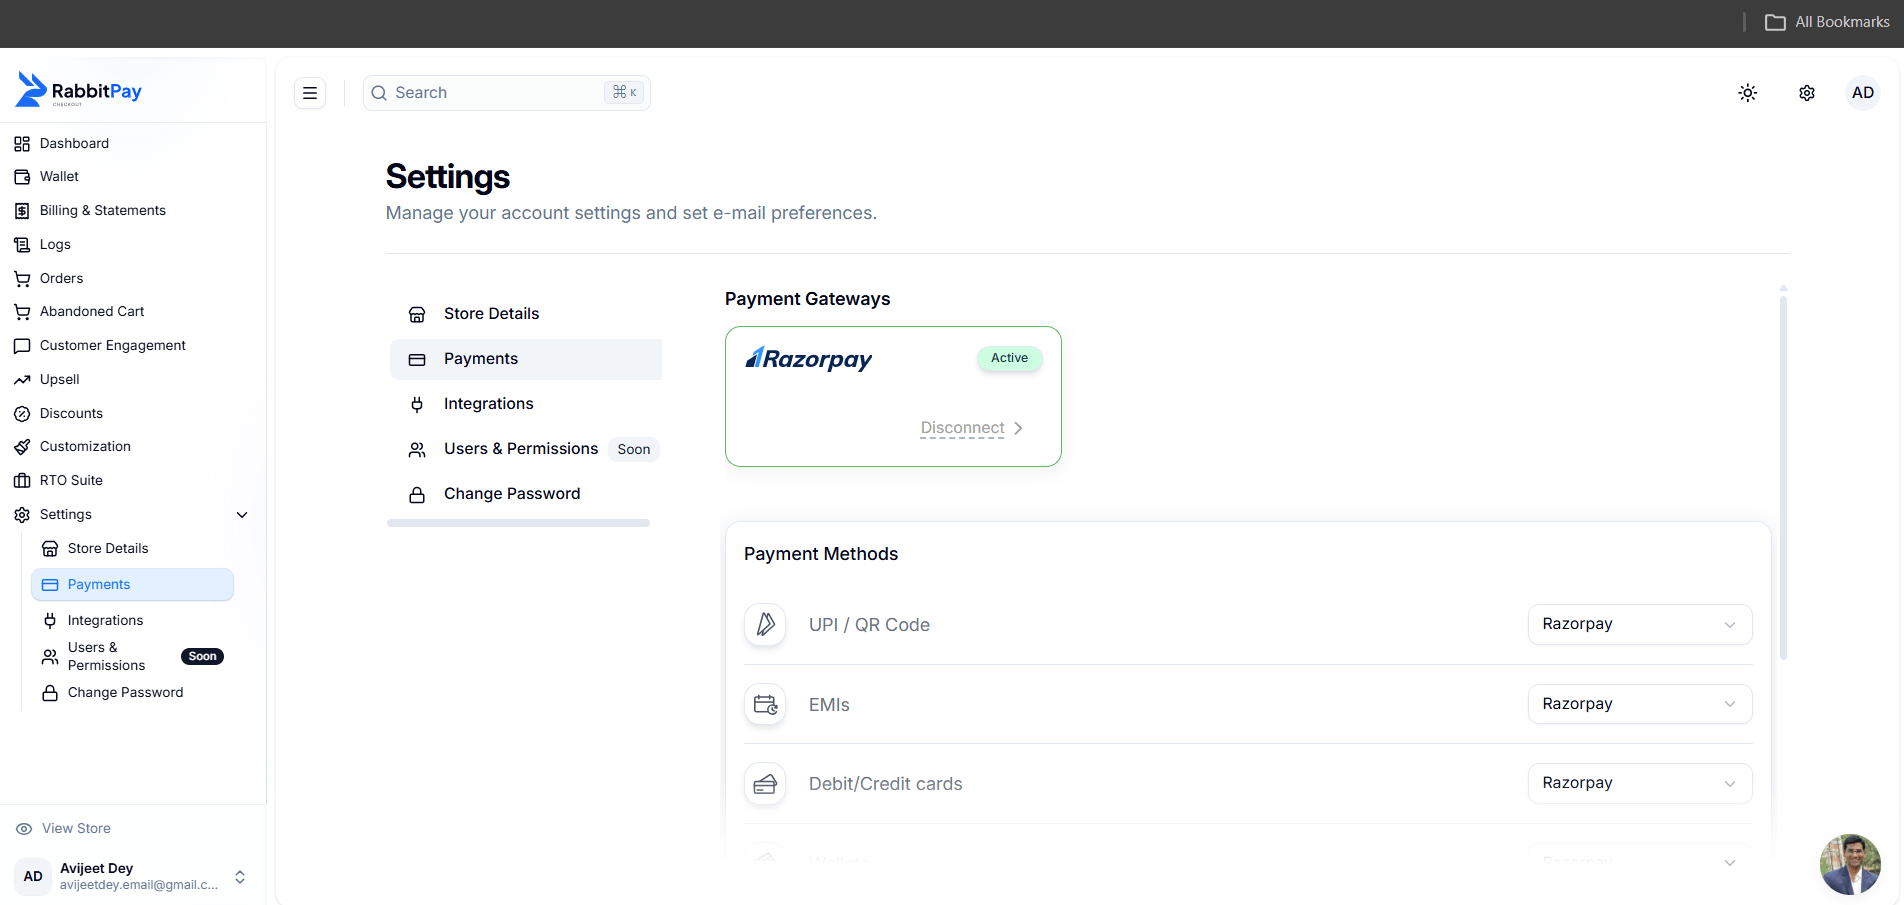 Requires account authorization from your Razorpay dashboard\*\*.\*\* [View setup →](/integrations/razorpay/generate-api-token)
If you don't configure payment gateways during the initial setup, you can configure them later from the RabbitPay dashboard.
Requires account authorization from your Razorpay dashboard\*\*.\*\* [View setup →](/integrations/razorpay/generate-api-token)
If you don't configure payment gateways during the initial setup, you can configure them later from the RabbitPay dashboard.
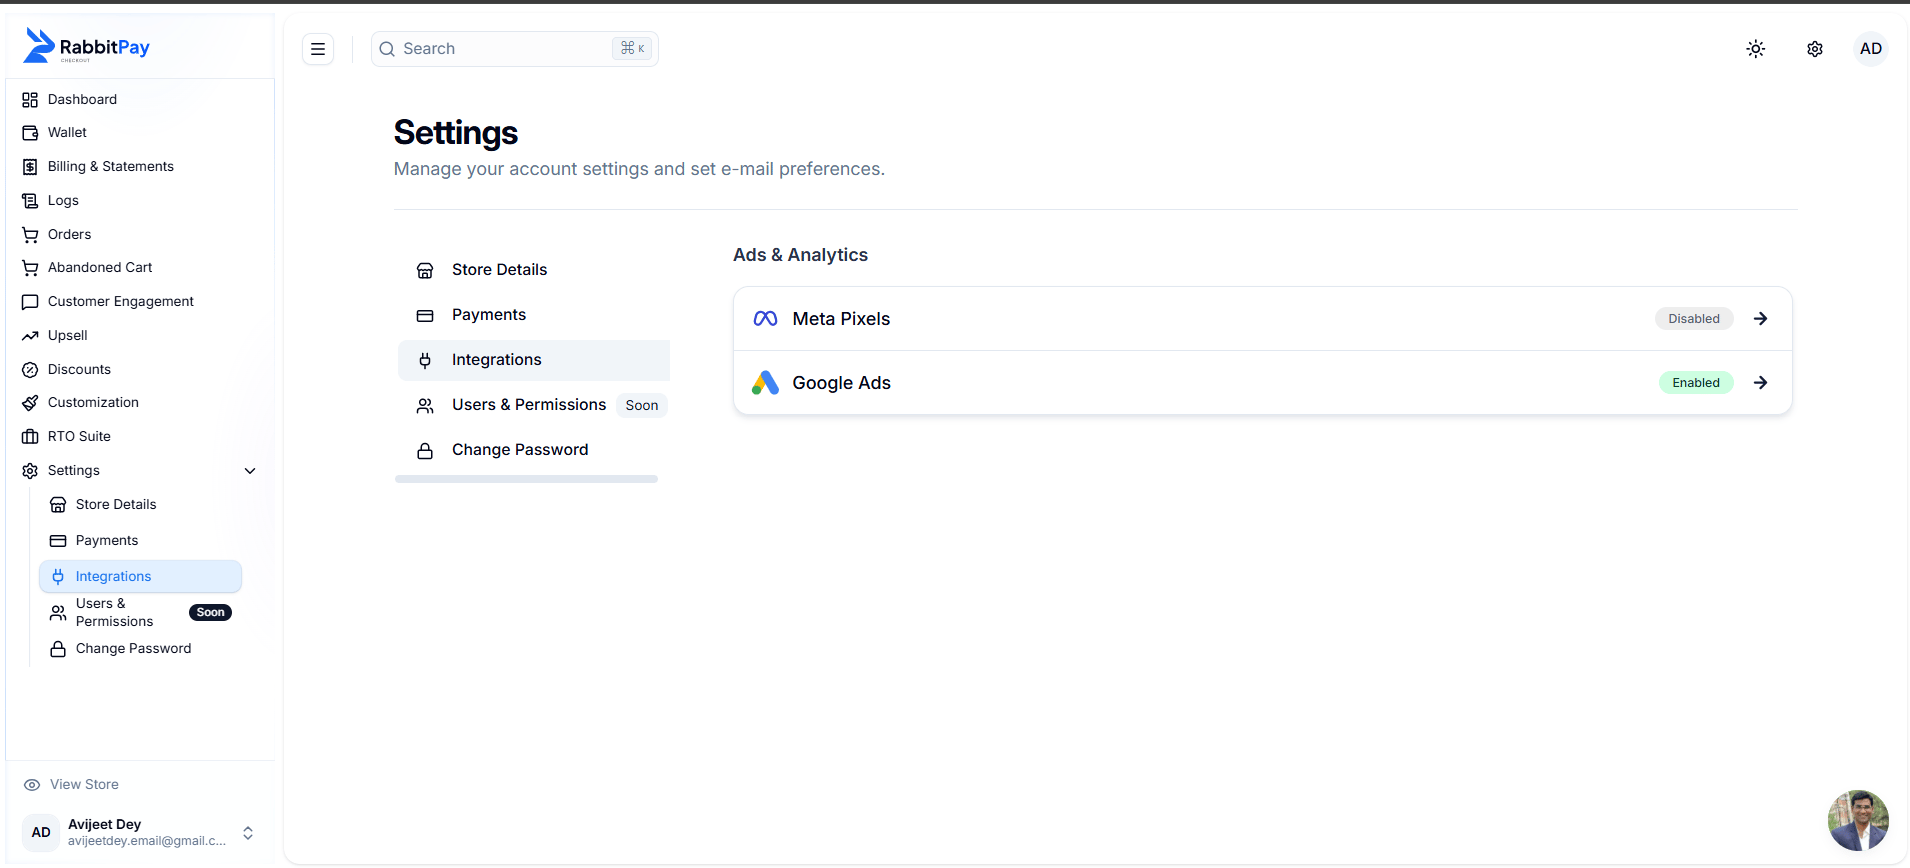 Connect the marketing platforms you intend to use with your Shopify store. Examples include:
* Meta Pixel
* Google Analytics
* Google Ads
For detailed setup instructions, refer to the [Analytics documentation](/integrations/meta-pixel/generate-access-token).
## Continue Growing with RabbitPay
Onboarding is only the starting point. Once your store is live, you can keep exploring RabbitPay's features and refine your Cash on Delivery workflows as your business grows.
Stay updated with product updates, feature announcements, best practices, and connect with other RabbitPay merchants.
If you need help selecting a payment gateway or have onboarding-related questions, the RabbitPay team is available to assist you.
For payment gateway specific technical issues, please contact the respective gateway's support team directly. RabbitPay can assist with integration guidance but cannot resolve gateway-side issues.
Connect the marketing platforms you intend to use with your Shopify store. Examples include:
* Meta Pixel
* Google Analytics
* Google Ads
For detailed setup instructions, refer to the [Analytics documentation](/integrations/meta-pixel/generate-access-token).
## Continue Growing with RabbitPay
Onboarding is only the starting point. Once your store is live, you can keep exploring RabbitPay's features and refine your Cash on Delivery workflows as your business grows.
Stay updated with product updates, feature announcements, best practices, and connect with other RabbitPay merchants.
If you need help selecting a payment gateway or have onboarding-related questions, the RabbitPay team is available to assist you.
For payment gateway specific technical issues, please contact the respective gateway's support team directly. RabbitPay can assist with integration guidance but cannot resolve gateway-side issues.
Need Help?
If you need assistance during onboarding or while configuring RabbitPay, our support team is here to help.
**Email:** [support@notifiktech.com](mailto:support@notifiktech.com)