> ## Documentation Index
> Fetch the complete documentation index at: https://rabbitpay.ai/documentation/llms.txt
> Use this file to discover all available pages before exploring further.
# One Click Checkout for Shopify
> Set up and activate RabbitPay One Click Checkout on your Shopify store with this step-by-step guide.
Activate and configure **RabbitPay One Click Checkout** on your Shopify store to provide customers with a faster and simpler checkout experience.
Follow these steps to complete the setup and verify your checkout before going live.
### Prerequisites
Before starting the setup, make sure:
1. You have an active **Shopify store**.
2. You have access to your **Shopify Admin**.
3. RabbitPay is installed or ready to be installed on your store.
4. You have access to the **RabbitPay Dashboard**.
### Shopify Collaborator Access
RabbitPay may require collaborator access to your Shopify store for installation and configuration.
To share your collaborator access:
1. **Log in** to your Shopify Admin.
2. Navigate to **Settings > Users and permissions**.
3. Scroll down to the **Collaborators** section.
4. Copy your **Collaborator request code**.
5. Share the code and your Shopify store URL with the RabbitPay team.
Never share your Shopify account password. The collaborator request code allows the RabbitPay team to request the required access to your store.
### Installation
Once the required access is provided, the RabbitPay team will install and configure the RabbitPay app for your Shopify store.
After installation:
1. Log in to your **Shopify Admin**.
2. Go to **Settings > Apps and sales channels**.
3. Confirm that **RabbitPay** is listed under your installed apps.
4. Open RabbitPay to access your RabbitPay Dashboard.
### Configure One Click Checkout
After RabbitPay is installed:
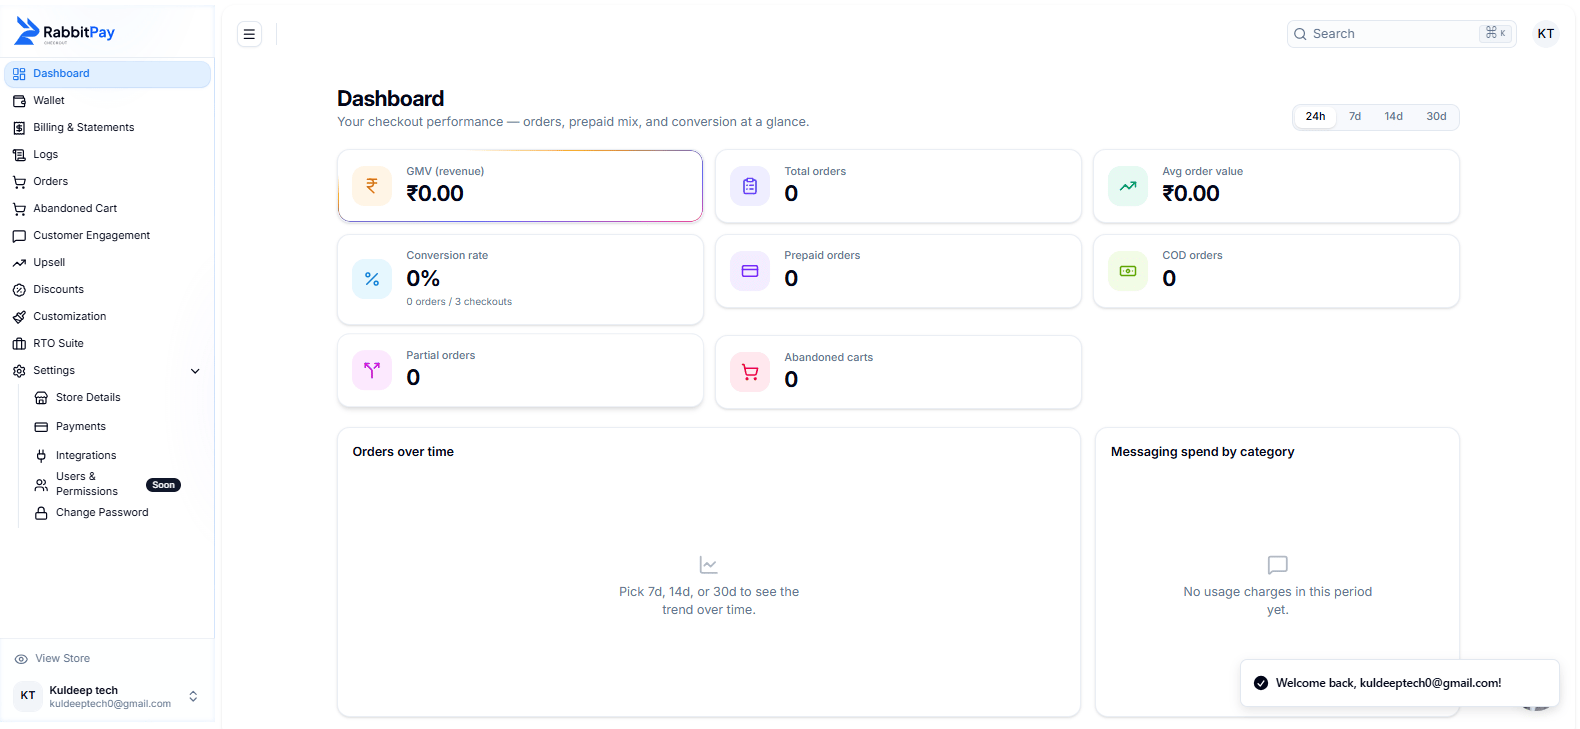
1. Open the **RabbitPay Dashboard**.
2. Go to the **Checkout** section.
3. Configure the checkout options according to your store requirements.
4. Save your settings.
 ### Configure Payment Methods
RabbitPay Checkout supports multiple payment options depending on your enabled payment integrations.
You can configure payment options such as:
* UPI
* Cards
* Net Banking
* Wallets
* Cash on Delivery
* Partial Payment
* Other enabled payment methods
Make sure your required payment integrations are configured before testing the checkout.
### Go Live
After completing your testing:
1. Review your RabbitPay Checkout settings.
2. Confirm that all required payment methods are enabled.
3. Place a final test order.
4. Verify the order in your Shopify Admin.
5. Your RabbitPay One Click Checkout is ready for customers.
If you make changes to your Shopify theme or checkout configuration after setup, test RabbitPay Checkout again to make sure it continues to work correctly.
### Configure Payment Methods
RabbitPay Checkout supports multiple payment options depending on your enabled payment integrations.
You can configure payment options such as:
* UPI
* Cards
* Net Banking
* Wallets
* Cash on Delivery
* Partial Payment
* Other enabled payment methods
Make sure your required payment integrations are configured before testing the checkout.
### Go Live
After completing your testing:
1. Review your RabbitPay Checkout settings.
2. Confirm that all required payment methods are enabled.
3. Place a final test order.
4. Verify the order in your Shopify Admin.
5. Your RabbitPay One Click Checkout is ready for customers.
If you make changes to your Shopify theme or checkout configuration after setup, test RabbitPay Checkout again to make sure it continues to work correctly.